

How to paint a personalized wine glass:
What you will need: Wine glass, enamel paint, glass paint pen, paint brushes, paint sponges, oven
A painted wine glass can be a great personalized gift for a bride-to-be! Don’t have a bachelorette party on the horizon? Paint a set of wine glasses with different patterns or with the logos of your favorite sports teams to give your next party some flare. Who needs wine charms? For this project, I used a glass from Bed, Bath, & Beyond that supposedly holds an entire bottle of wine, but any glass will work! Before embarking on my wine glass painting adventure, I made sure to thoroughly wash and dry the glass so that there were no smudges or marks.

Once I decided on my design, I used a thin paintbrush to start. It was clear after the first couple of strokes (shown below) that I would need multiple coats of paint to get an opaque finish. I continued with the paintbrush to create an outline of the style that I wanted (a chevron pattern, in this case) and let this first layer dry.

I then used a paint sponge to apply a heavier layer of paint and to give the glass texture. After two rounds of sponge paint, the mint color was fully opaque. Be mindful of the type of paint you purchase, as some are meant to be opaque while others have a more translucent finish.

Next, I created a silver stripe in the middle, again using the paint brush. For this section, I was able to create an opaque finish with the paintbrush, and I then painted the third layer in the same way as the first, using the sponge for heavier coverage and texture.

Once this initial round of paint was dry (20 minutes or so), I went over all sections with a final layer of paint, using the sponge for the mint green sections and the paintbrush for the silver section. This final coat created the opaque finish I was looking for, so I set the glass aside to dry.

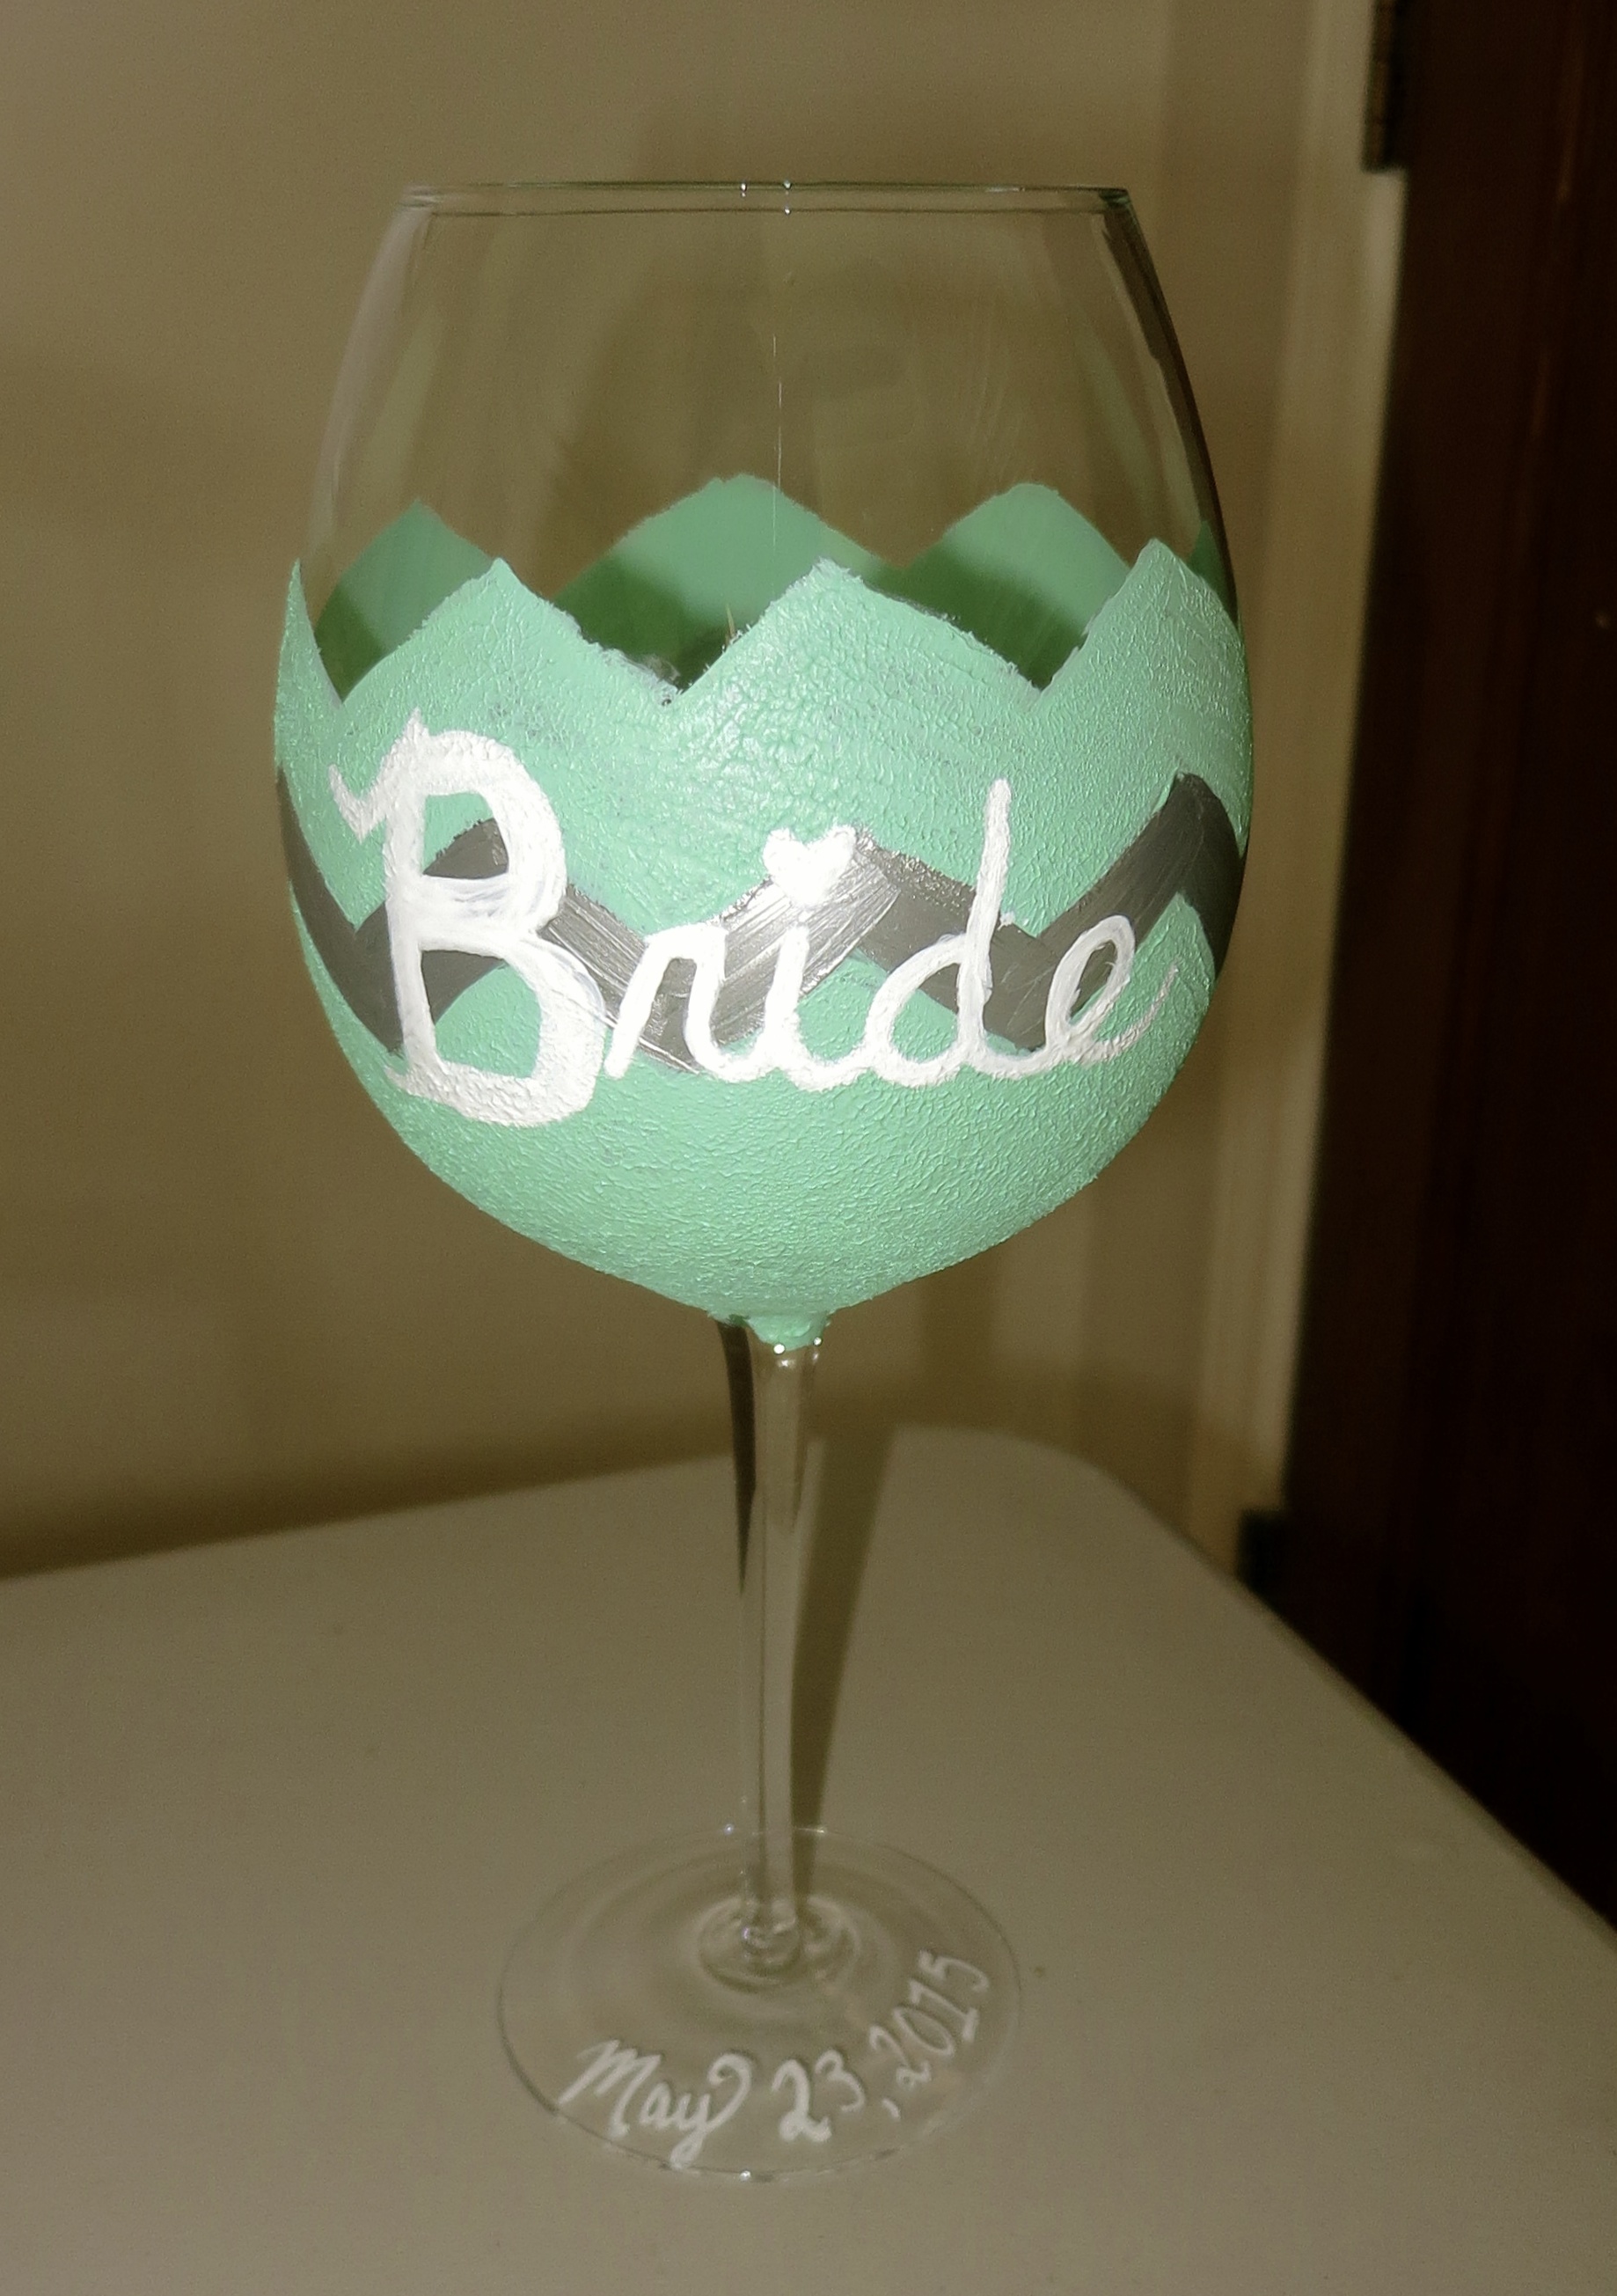
A couple of hours later, I continued to decorate, using a paint pen to write ‘Bride’ in the middle of the pattern. Warning – Paint pens tend to have a mind of their own and can end up releasing more paint than you would expect (or like). To have more control over the amount of paint used, I created a light outline with the pen, and then traced over the letters using white enamel paint and a thin paint brush. I used the same tactic when writing the bride-to-be’s wedding date on the bottom of the glass.

I let the finished wine glass dry for 24 hours, and then baked it to set the paint. If you are planning to set the paint in this way, make sure to use paint that can be baked, such as the enamel paint used in this how-to. To bake the glass, I placed it in a COOL oven, and turned it on to 350 degrees. This allowed the glass to heat slowly so it didn’t shatter (I was terrified). I then set a timer for 30 minutes from the time I placed the glass in the oven, and turned the oven off when the timer went off. I kept the oven closed for at least 30-45 minutes after turning the oven off to allow the oven and glass to cool slowly (I may have peeked once before that because I was antsy), and then let the wine glass cool completely with the oven open to expedite the process. Although you can theoretically put glasses that have been treated in this way in the dishwasher, I would still recommend hand washing them.

To add more bridal flare, I cut pieces of tulle that extended the length of the glass stem, and used a separate piece to secure them. To make washing the glass easier, I decided against using glue to permanently attach this decor. Keep this in mind when you are adding extra decorations to the glass!

Once your glass is baked and any finishing touches are added, get some wine (or the bride’s drink of choice), and head to the party!
Excellent web site you have got here.. It’s difficult to find excellent writing likke yours these days.
I ruly appreciate individuals like you! Take care!!
Superb, what a weblog it is! Thiis blog presents useful facts to us,
keep it up.